|
|
|
|
|
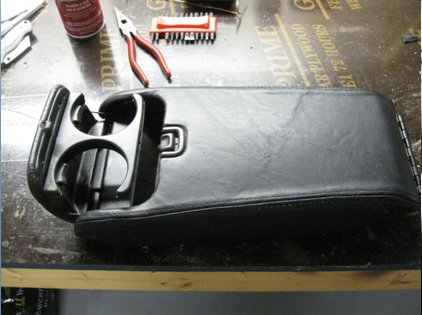
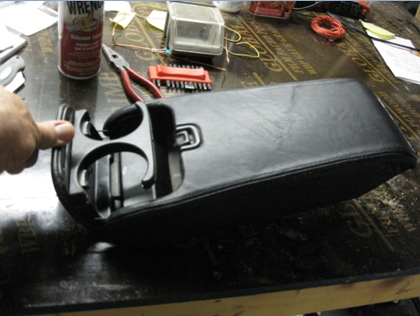
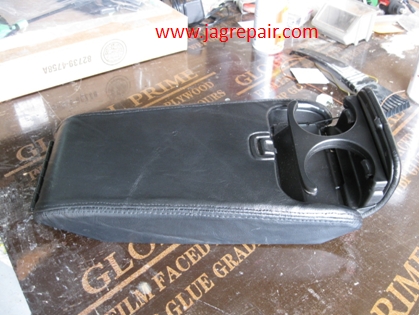
Center Console and Cup Holder Repair
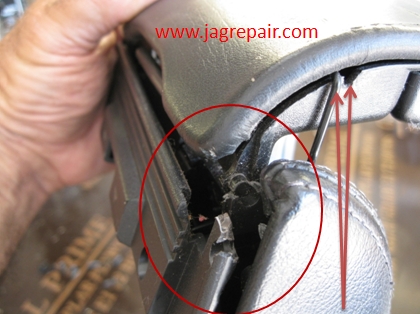
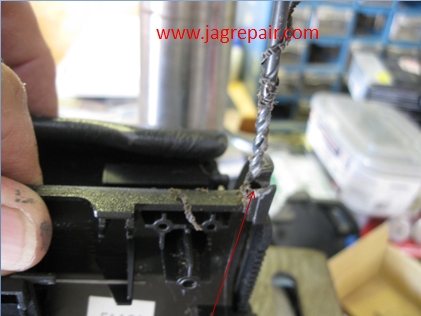
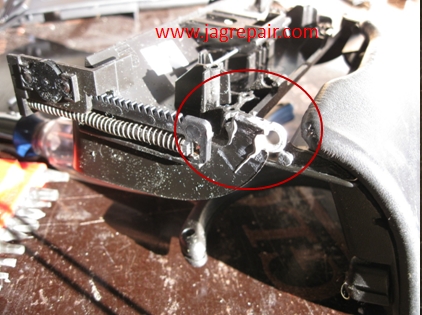
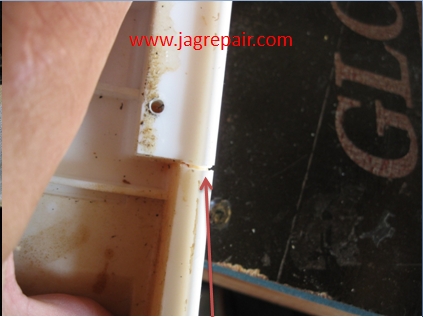
This is the results of applying excessive pressure to the console with the cup holder open. It broke the plastic support and the pivoting point of the cup holder. I had noticed prior to this situation that at times the cup holder would pivot forward and that was related to the brace not staying in place.
I also noticed that this console has had repairs done previously.
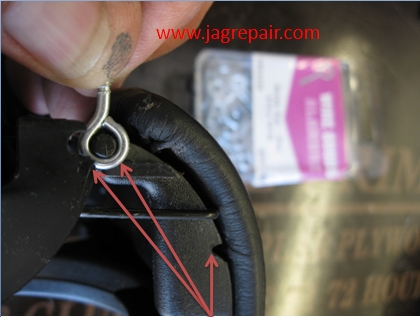
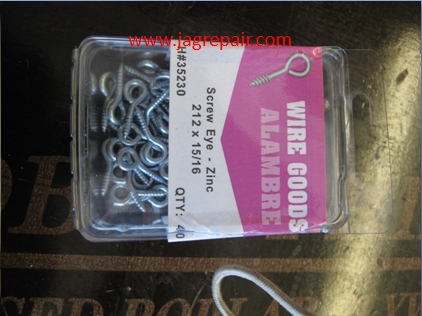
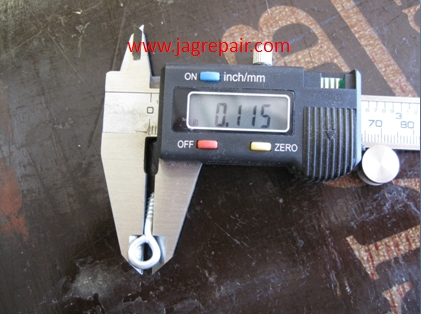
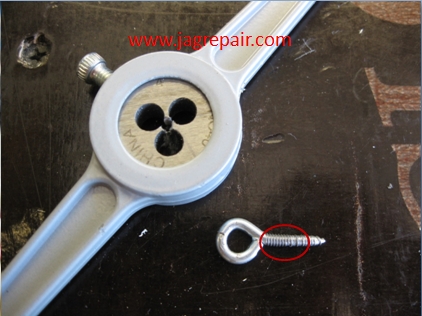
I first went looking for an eye bolt that could be used and found this one.
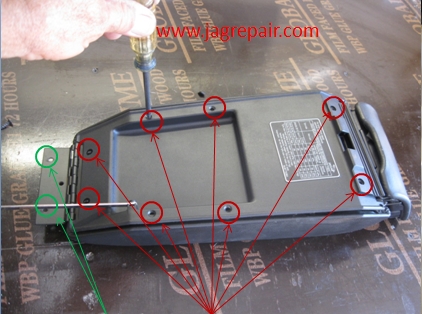
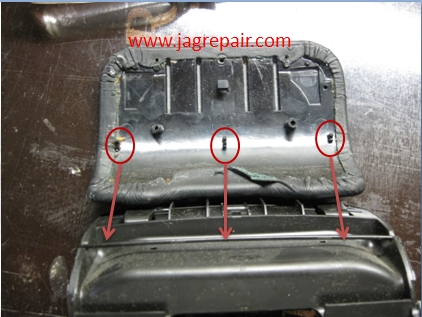
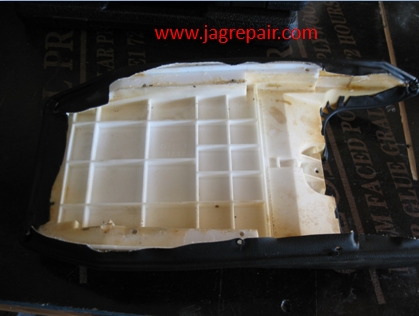
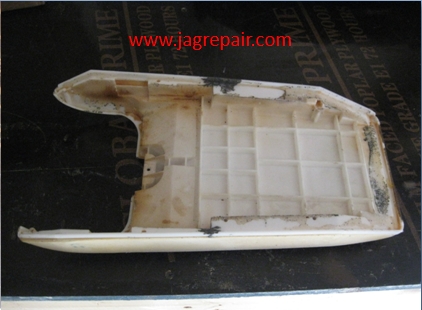
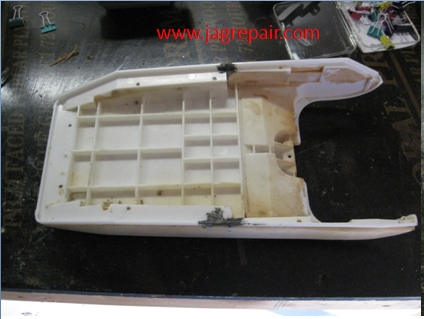
To remove the console lid just remove the 2 screws (green on my illustration) and lift it away from the console and, with a little moving around, the lid. No need to unbolt the lid stay, it will slip out with a little maneuvering. Once removed from the console, lay it on its back and remove 8 screws (Red line) holding the cover on.
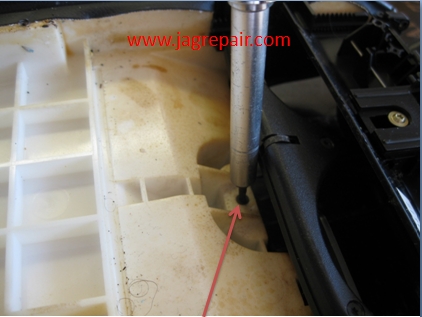
Once that is removed you have one screw holding the cup holder and button for it in place.
Checking for the proper drill bit.
Drilled the hole for the eye bolt.
Using a die, I thread the eye bolt to prevent it from slipping out.
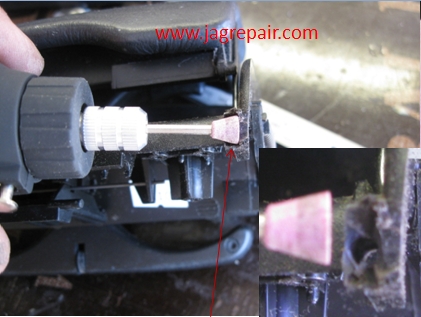
Used a grinder to position the eye bolt properly.
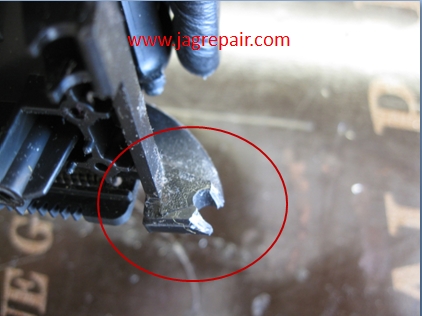
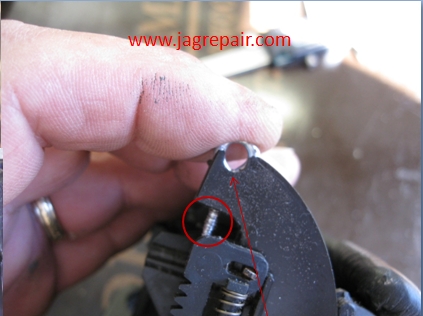
As you can see the eye bolt was a bit longer than I needed so I cut it down.
Once fitted properly I used JB Weld to hold it in place.
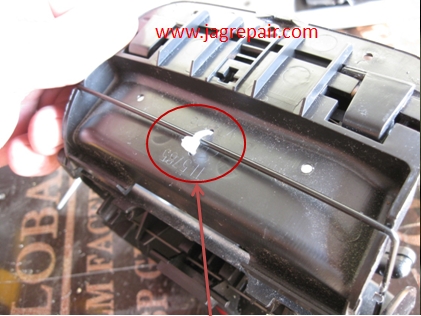
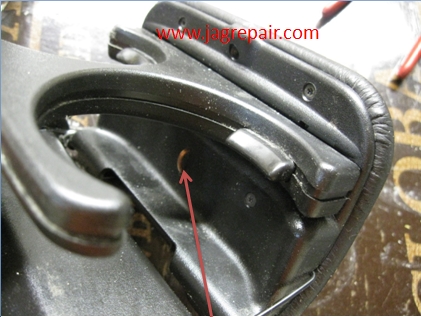
Now as to the why my cup holder would tip forward. With the lid cover removed you can see that all 3 stays for the wire brace were broken allowing the cup holder to tip forward.
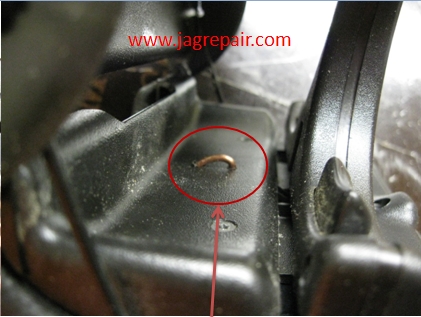
My repair was to drill 2 holes in the inside and use a wire tie to hold the brace in place but that did not last long. It broke when used in cold weather so I replaced it with a copper wire.
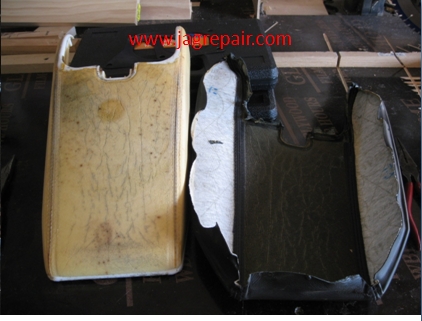
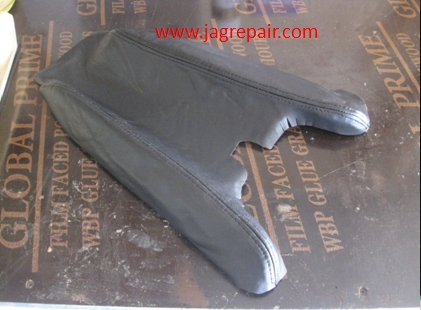
At this point the repairs were done to the cup holder and I wanted to replace the console cover because the stitching was coming apart. I removed the cover and took it to a local shoe repair shop and what we elected to do was to replace the entire cover with leather on the top and sides.
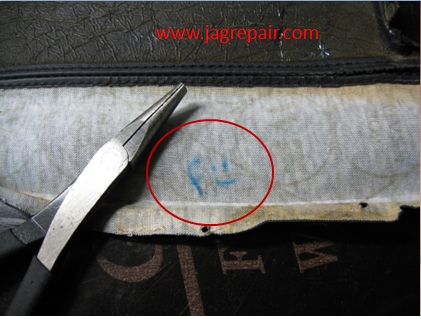
Look at what I found inside the old cover!!
I also found a few cracks that I repaired with JB Weld.
The new cover.
I made the repairs to the cracks but needed to clean the surface for the install of the new cover.
I cleaned the old glue with lacquer thinner and made repairs.
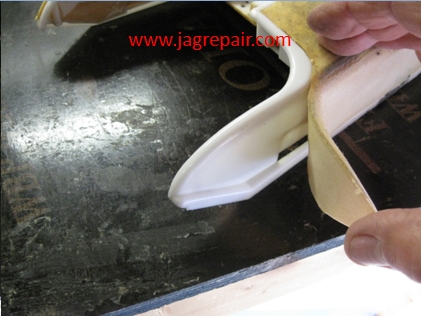
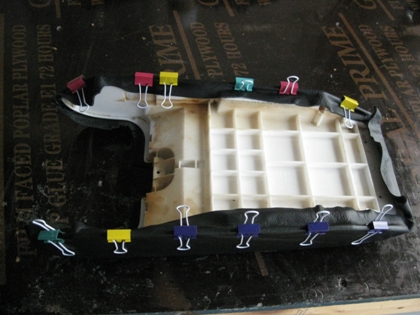
I checked the fit and used clips to hold the cover in place. I should mention that I pulled and refitted the top several times over a few days to get it right.
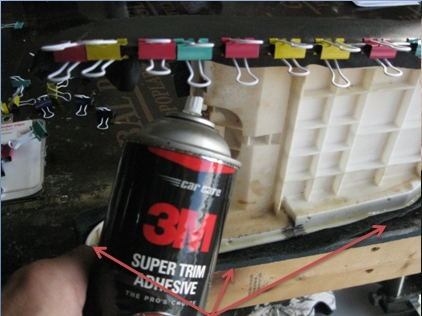
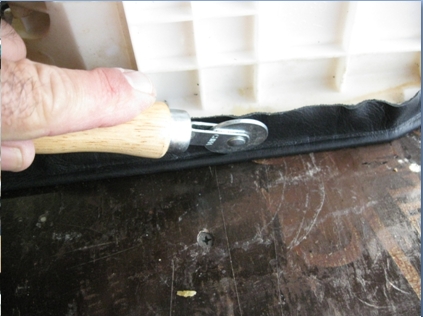
To glue it in place I used 3M Super Trim Adhesive. I unclipped the one side and laid the leather back on that side using the work bench to hold it in place and applied the adhesive to both the arm rest and the leather. Once the adhesive was set I placed the leather in place and used a screen installing tool to secure it properly.
The finished product! I tested the cup holder and it seems to be fixed.
|
|
|