|
|
|
|
|
This Emergency Boot Access Was Developed By
Astromorg Here's my solution, but note straightaway it is a pre-emptive solution, not a way in when the deed has been done, and was carried out on a 2005MY XK8 coupe. You'll have to confirm by checking that your lock can be adapted if from a different MY; I think they're all the same, although early models require the hole in the release lever to be drilled. First move is to remove the two internal rear light cluster covers, held on by two simple turnbuckles each. Then remove the plastic panel covering the lock and boot lip. It's held by four plain fir tree clips on the top edge that just pull out, four other clips that have to have their central plastic screw removed before also pulling out - be very gentle with the screwdriver on these, or they'll strip and have to be levered out. Finally, there are four hidden spring clips along the bottom edge that pull off with fingers under the bottom edge. Underneath the cover the boot lock is under various pieces of black sticky tape that is easily set aside for access. It should look like this: 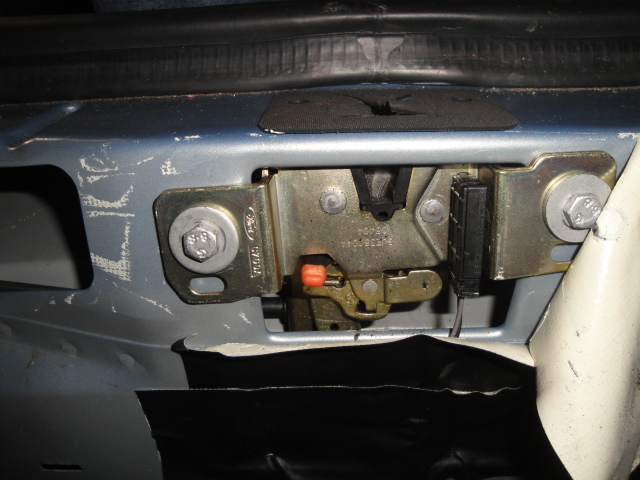 An important point is to note is that orange plastic capped lever - while it's Up, all is well, but if you inadvertently push it Down and leave it in that position, the boot lock becomes inoperable by the fob, the key or the boot lid button - you've been warned!! Now look below the orange cap and there's a vertical lever - not the horizontal one! - with a small hole in it. That is the bit we need to be able to move from outside. My approach is to start by drilling a hole as shown in this photo, using the fir tree clip hole already present in the top surface as guide for the drill. 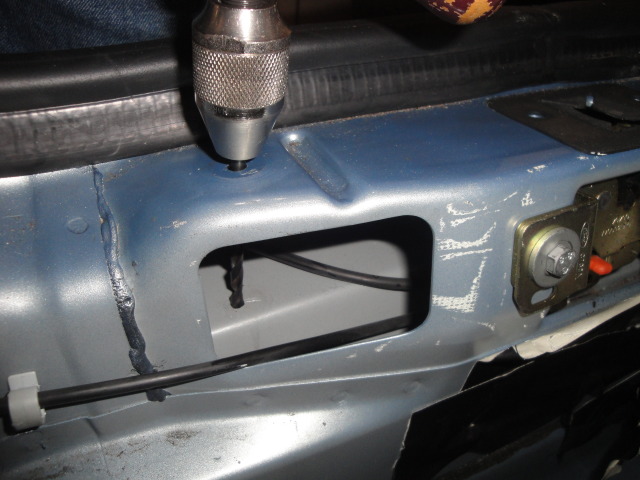 I then raided the come-in-handy box of plastic oddments to find a suitable bush to suit my 5mm hole - size is not critical! - and added it to my other necessary parts shown here - - 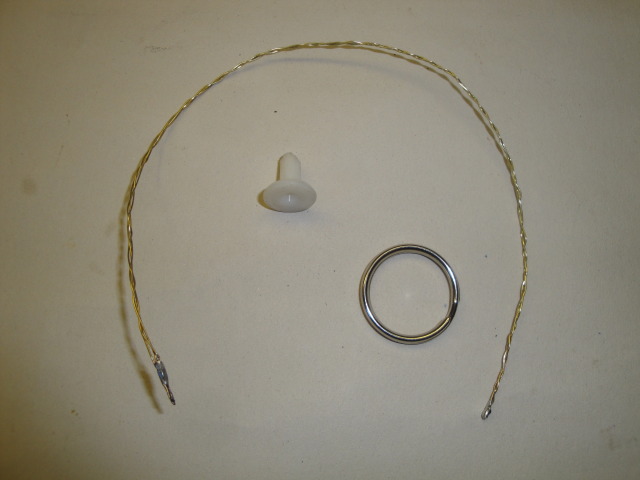 That's a split ring, a length - about 300mm - of flexible wire, (or string!) and the bush - again not actually essential! The wire needs to have some sort of 'stopper' on its end; I used a tight loop filled with solder, but a knot in the piece of string would do, as you'll see soon! 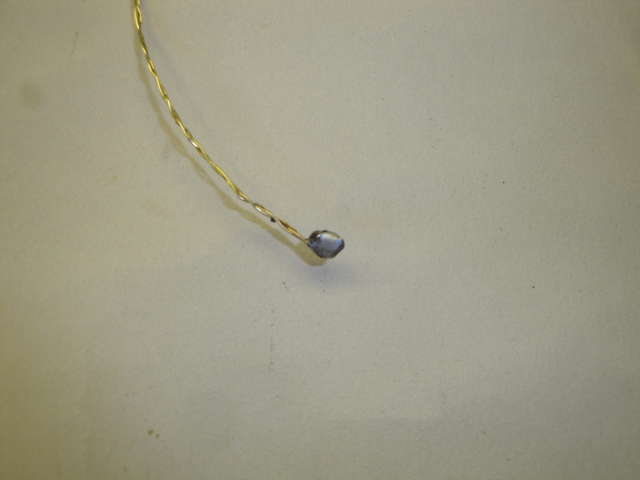 Now pass the wire/string through the hole in that vertical lever: 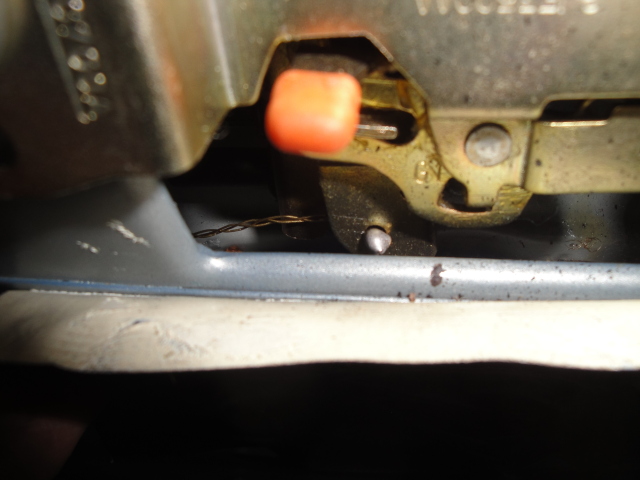 Then through the bush: 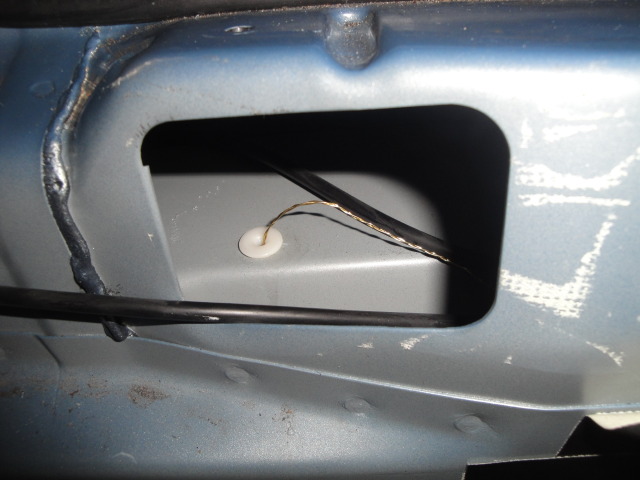 And then, from underneath, attach the split ring - or whatever you fancy! - and the job is done. 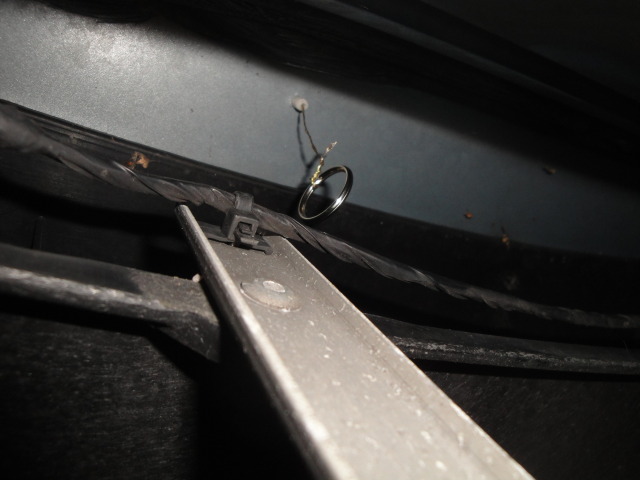 Check it all works before finally checking the orange knob is up and putting back the trim. You'll find out when you test it 'live' that the alarm is set off, so I hope your keys really are in there! Job done and Peace of Mind established!! You'll have to decide for yourself if this breach of security would worry you if you fitted it, but I think it's a pretty long shot that it's found by an unwelcome admirer!
|
|
|

