|
|
|
|
|
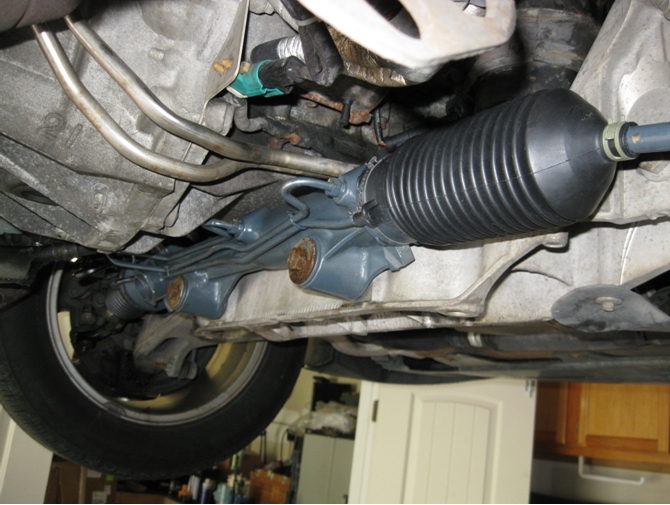
2000 SType Steering RackI recently had an issue with the right ball joint and as a result the wheels had excessive movement. I checked the outer and inner control arms and found the problem internal to the steering rack. This is what I found and how I replaced it.
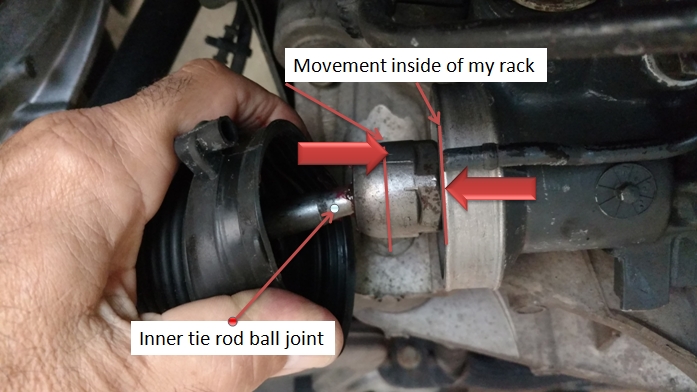
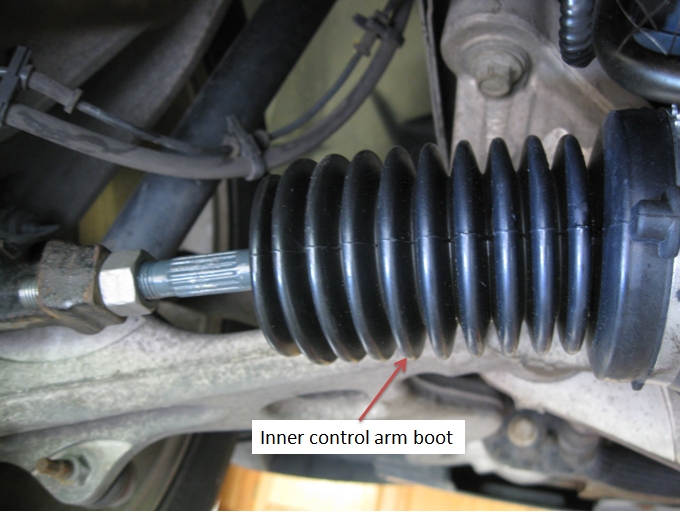
After checking the outer control arms and finding no problems with either one, I pulled the boots for the inner control arms. I had to block one wheel from movement and move the other at a 3 to 9 position. I found that my movement was internal to the rack and the inner tie rod ball joint was good. This is how I replaced the steering rack.
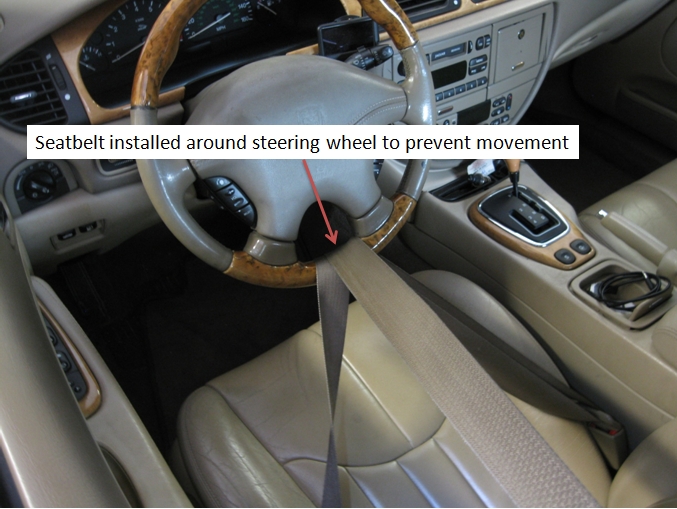
The very first thing I did was secure the steering wheel with the seat belt to keep it from rotating and disconnected the battery. I was told that not securing the steering wheel and if it were to rotate free of the rack that it could set the airbags off. I do not know how true that is but I did it anyway.
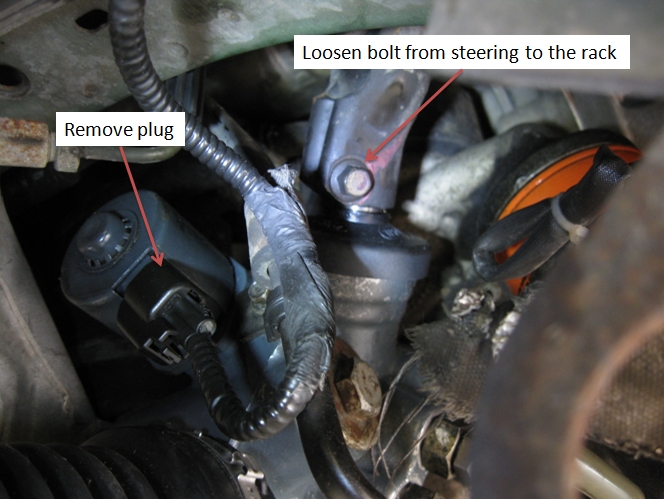
I loosened the bolt from the steering column and removed the plug to the rack.
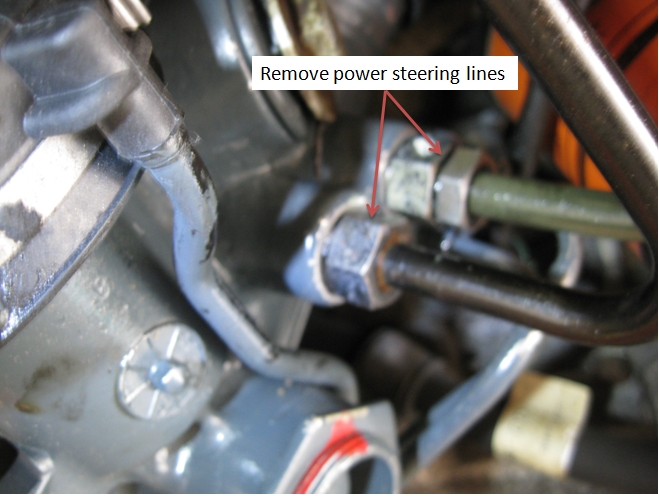
I removed both power steering lines to the rack and drained all the power steering fluid. I would caution you when removing the hoses, the fittings and rack ports are fragile. Just take your time. Also you should have 2 new gaskets for the line connections. Remember not to overpower the line connectors when installing them.
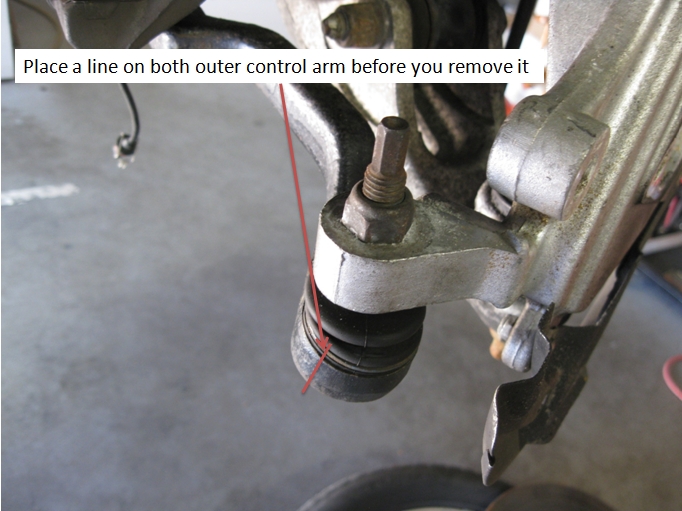
Prior to removing the rack and the outer control arm ball joints I drew a line on both outer control arms. I then took a tape measurement from the left and right marks on the control arms. Be sure to jot that number down, you will need it for the install. Now you can unbolt the outer control arms and remove them. When removing them count the number of turns to remove each outer control arm and jot that information down. In order to prevent unnecessary stress on your front end and tires you will need those figures when installing the new rack so you can drive it for an alignment.
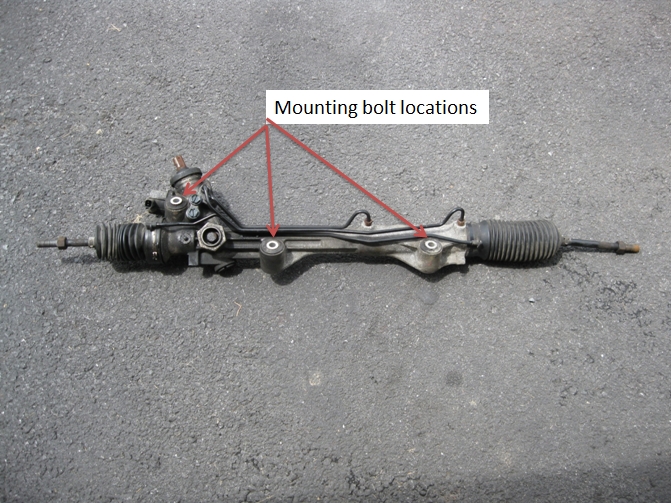
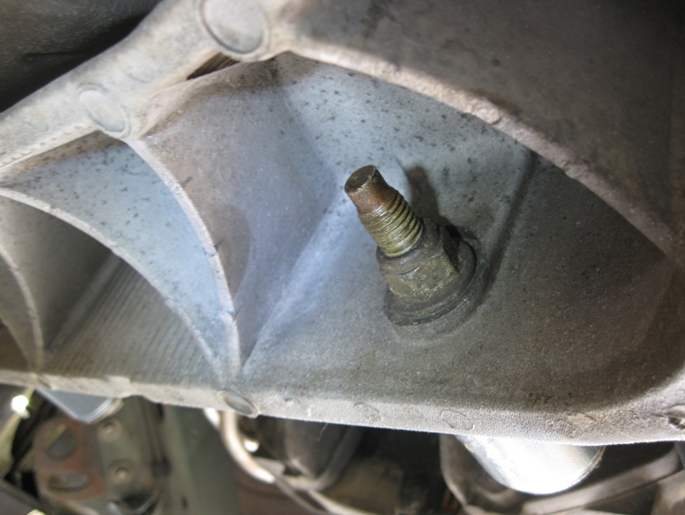
The old rack removed with the outer control arms removed. You have 3 bolts to remove and you may need a breaker bar to get them loose.
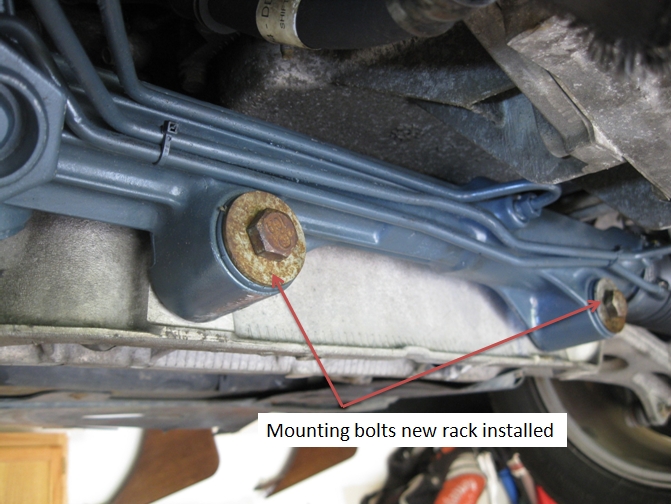
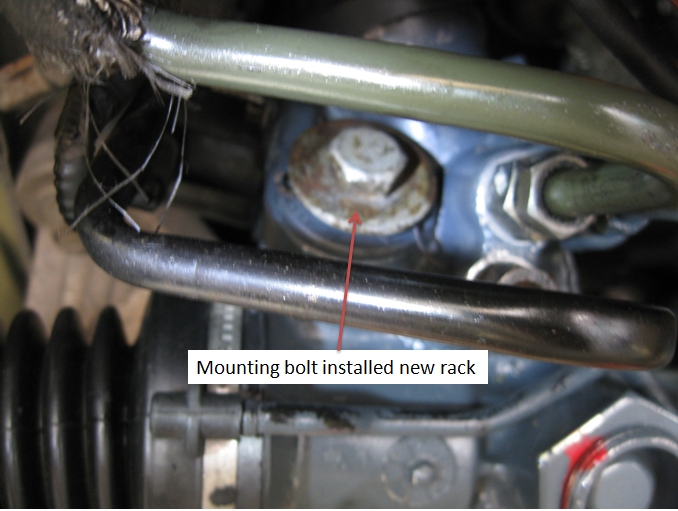
Now that the new rack is installed you should check your measurement between both outer control arms. If this measurement is off make the adjustments by rotating the inner control arm. A note of caution when rotating the inner control arm, be sure that the clip at the end of the boot is pulled off the boot. Make every effort not to twist the boot! It is fragile and does not like to be twisted or over stressed. Be sure that you use the proper torque specifications for your car if you elect to do this repair.
|
|
|