|
|
|
|
|
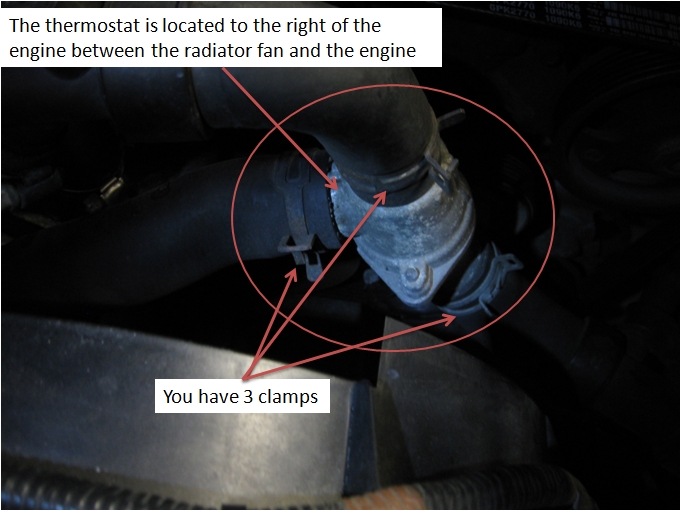
2000 3.0 Thermostat ReplacementThis is a procedure on how to replace your thermostat in your 2000 S-Type 3.0 I replaced my thermostat because the temperature of the engine was not in the normal range.
I installed a drain hose to prevent the splashing and to contain the coolant to dispose of it properly. Now a word of caution! When attempting to open the drain valve use caution not to force it open and be sure you are turning it in the right direction.
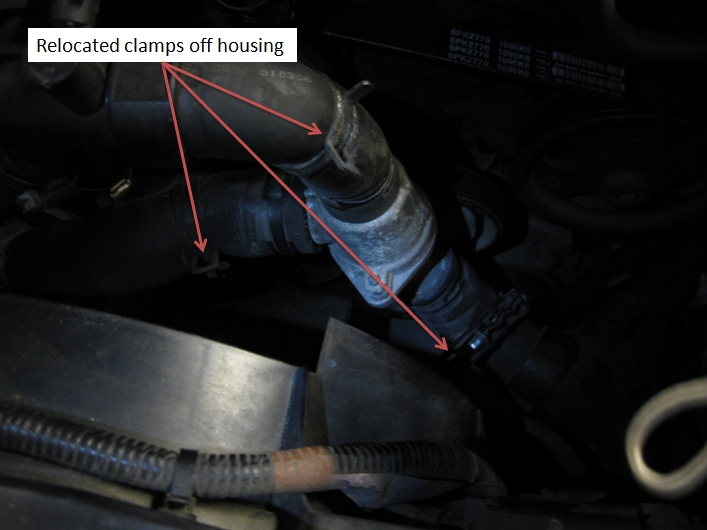
Relocating the Anderson clamps from the thermostat is not difficult but the proper tool is a plus in doing so. This is the tool I used and it was well worth the money I paid for it. I use it for both of my cars.
All I did was move the clamps back off the thermostat housing so I could remove it easily. With the clamps relocated the hoses did not come off as easily as expected. They were stuck on the housing. With a little twisting and pulling I got it off. A hose removal tool would have helped.
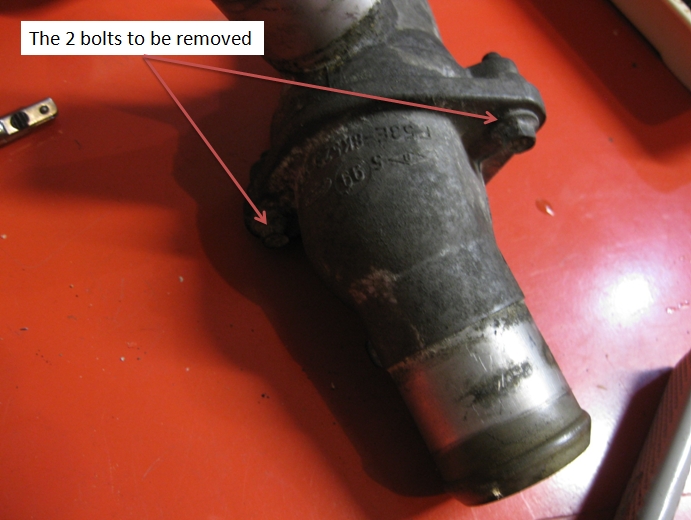
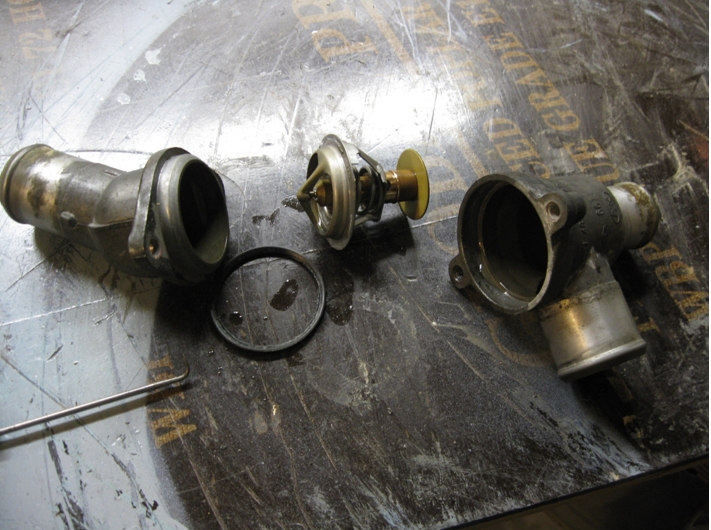
Removed the 2 bolts to access the thermostat.
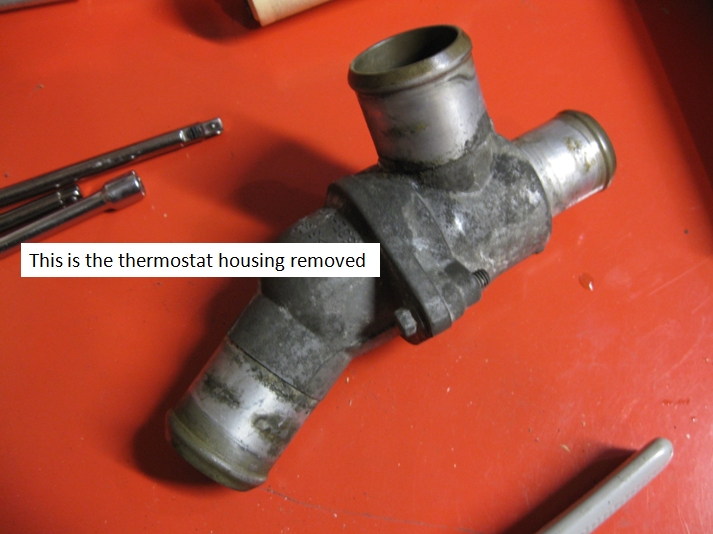
Remember to be sure to get the proper thermostat for your car and check that it has a gasket. You do not want to reuse the old gasket.
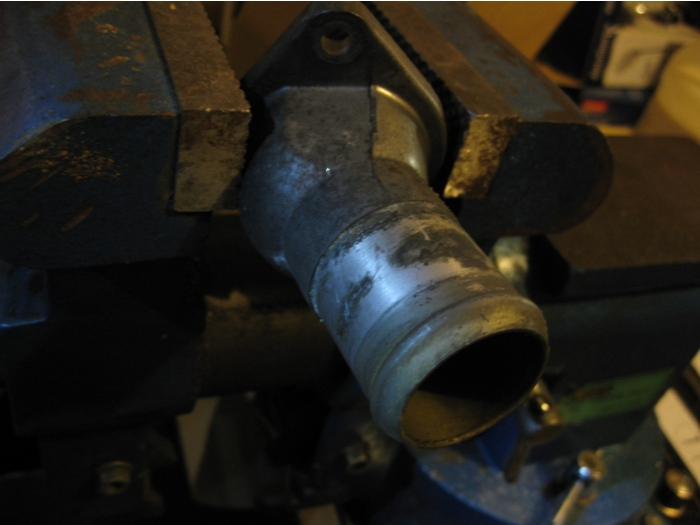
While it was apart I cleaned all the hose connections to the thermostat with a wire brush. I used a wire brush mounted on my drill. The reason I did this was to ensure a clean connection to the hoses and prevent leaks.
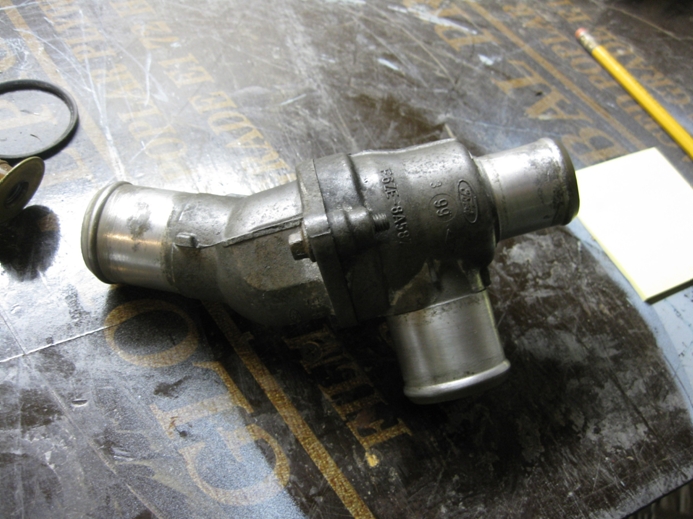
The new thermostat installed and connectors clean and ready to reinstall. Once installed, I added new coolant and checked for leaks. Installing fluid is a bit tricky in getting it filled properly. What I did was to add the coolant to the reservoir then squeeze the upper coolant hose, fill it again and do the same. What this does is forces the air out of the system. Once you are satisfied, install the coolant reservoir cap and let it run keeping an eye on the temperature. Once the operating temperature is reached, turn the car off and let it cool down. Once it is cool, open the cap and check your coolant level. If it is correct, reinstall the cap and take it for a short run and check it again. This car is fitted with an air purge valve, one at the reservoir and the other on the upper front plastic coolant housing. You do not want to do anything with the one on the plastic housing. The one at the reservoir works but squeezing the hose works better. I hope this helps |
|
|