|
|
|
|
|
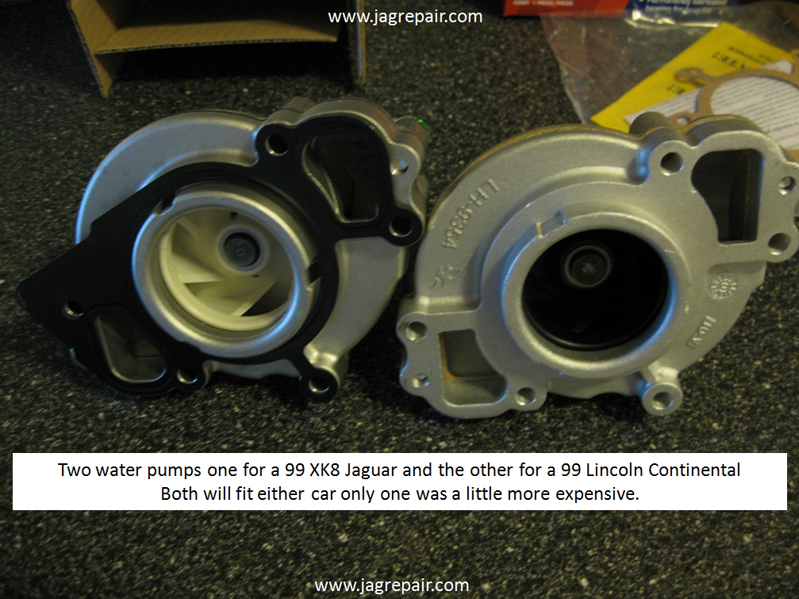
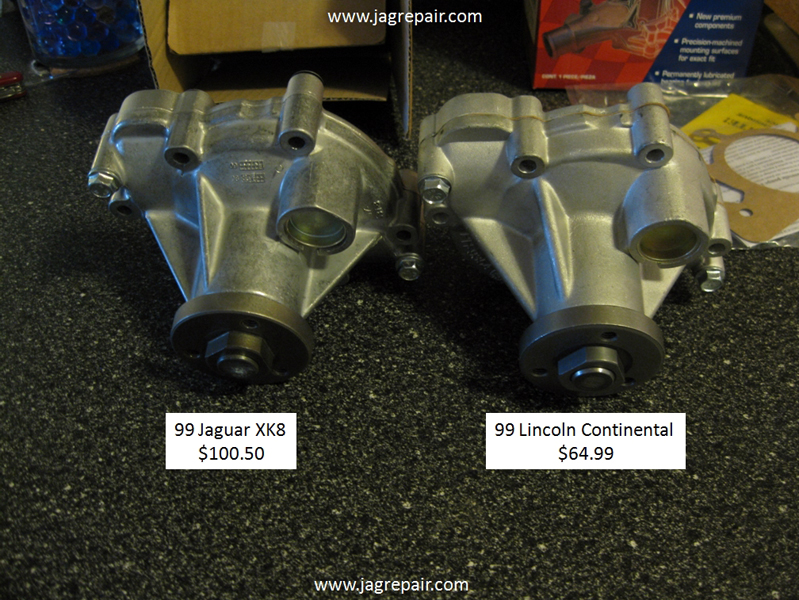
Jaguar Repair Water Pump & Crossover Pipe Replacement XK8Over the past several months I noticed that my coolant was going down but was unable to identify exactly why. After about a week I noticed coolant leaking from under the water pump. I was out of town and thought I would pick one up to have it in hand when I got home to work on it . I went to AutoZone and picked one up and noticed the gasket was paper, not a problem. After getting feedback from others I elected to see if Jaguar had one and they did but they did not have the “O” rings that are listed for the pump. The new pump did come with a metal gasket but not the “O” rings. I contacted people in the know who told me that the “O” rings were not required. With that in mind I proceeded to replace the pump. It took about 15 to 20 min to R&R the pump. I parked the car after a test run and put the tools away and went back to check everything and I could smell a strong odor of coolant. As I was reaching around and over I pushed a little on the upper hose and could see a coolant leak from the cross over pipe. I squeezed the top hose and found the leak, it was a crack in the Bakelite crossover pipe about 4 inches long. I R&R the pipe 10 to 15 min and all was good. This is my procedure;
I used the Jaguar Water Pump
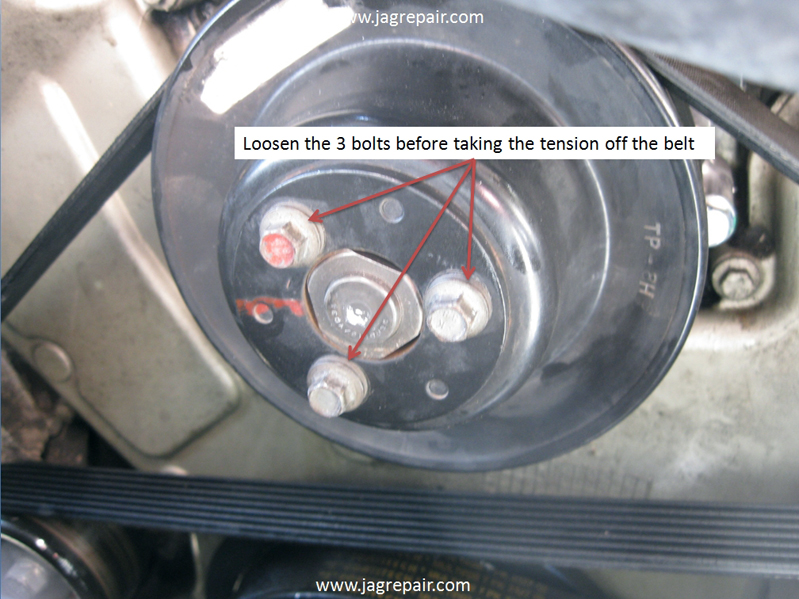
I loosened the 3 bolts for the pulley prior to removing the tension on the drive belt. The belt holds it all in place as I did this.
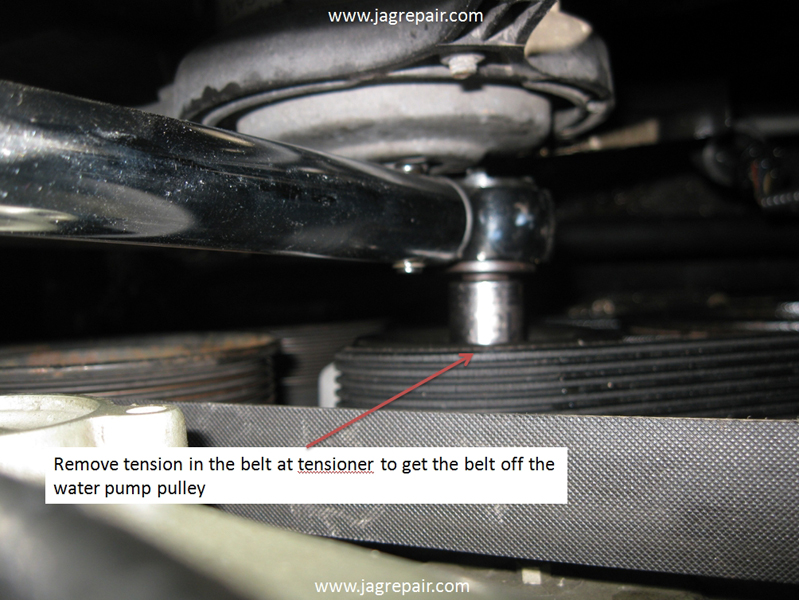
As you can see I used my torque wrench to rotate the tensioner to get the belt off and out of the way of the water pump. I did not have my breaker bar.
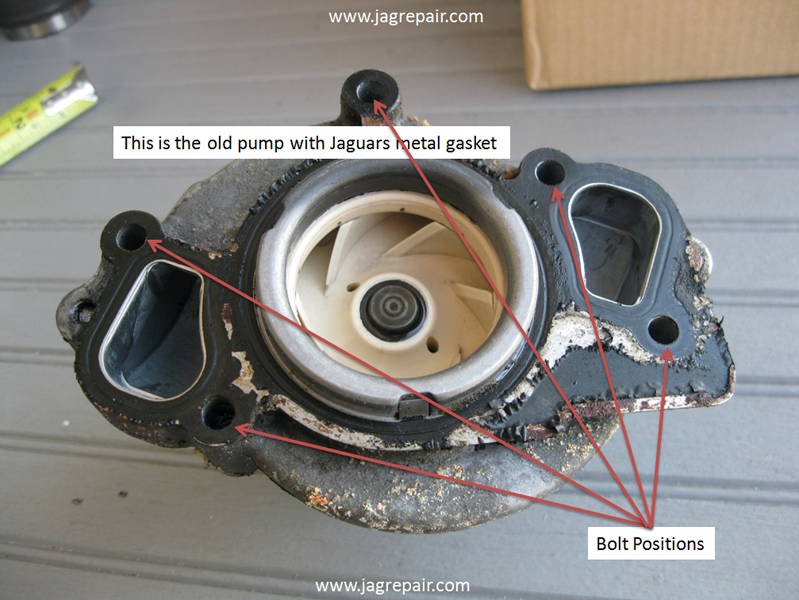
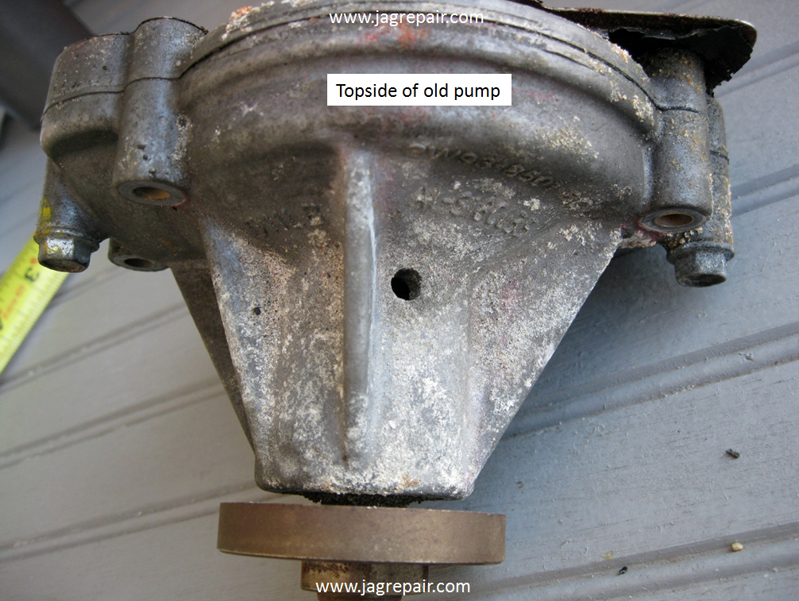
This is the old pump removed (I forgot to take a photo as I was removing it). As you can see the old pump did not have “O” rings and it did look like I had a leak.
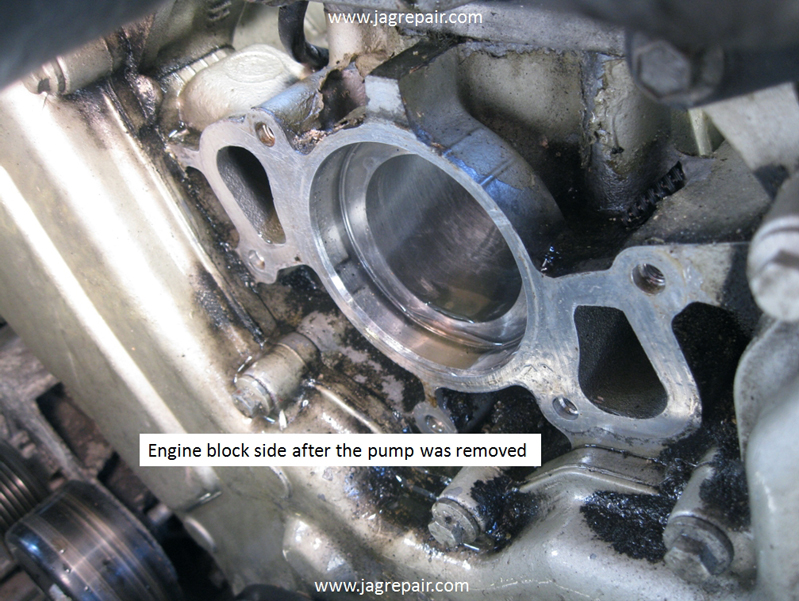
I cleaned the surface on the engine to provide a clean seal against the engine.
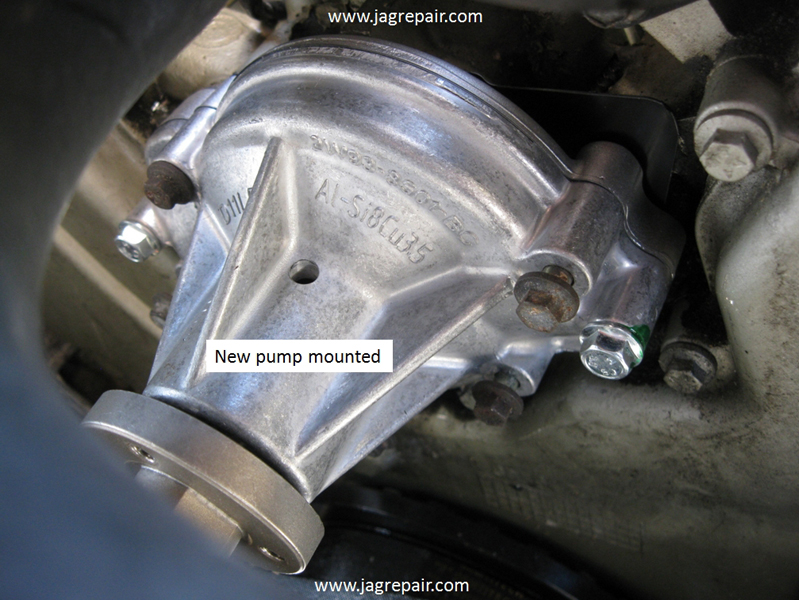
The new pump installed and the 5 bolts in place ready for me to torque them in.
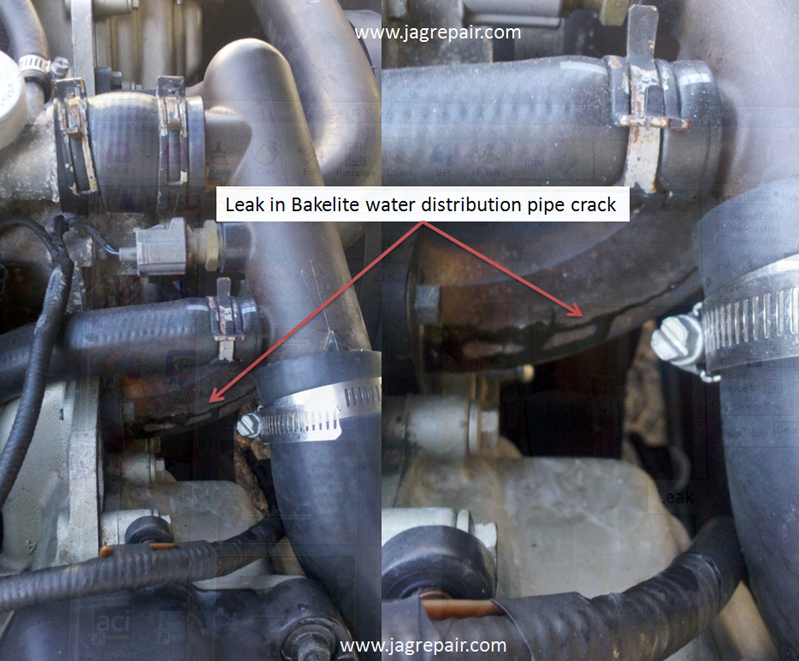
This is the Bakelite crossover pipe that was leaking and the 2 photos were taken just after squeezing the top hose to show the crack.
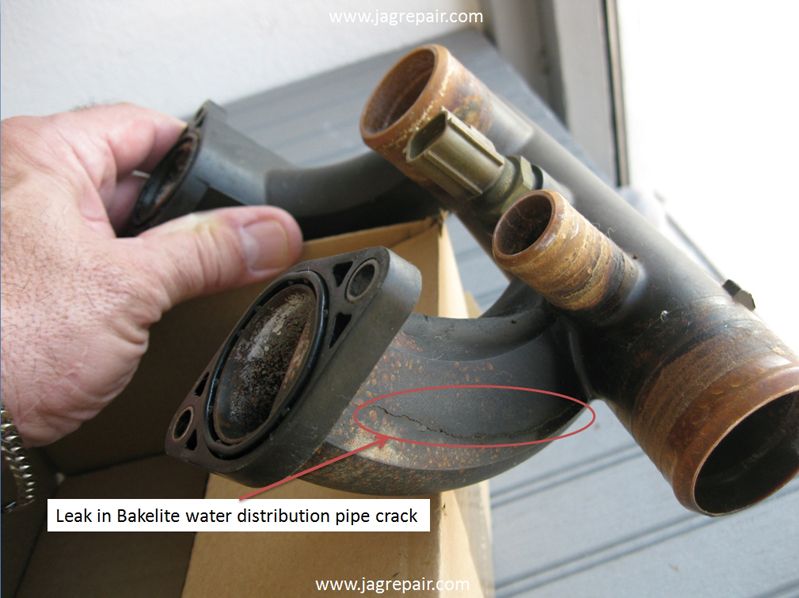
This is the pipe removed and the crack was visible. It was a simple process to remove and replace, 4 bolts and 3 hoses and one plug. I should note that when removing the temperature plug use a little caution, I broke the stay for the plug and had to use a wire tie to hold it in place. I guess I got a little rough with it.
|
|
|