|
|
|
|
|
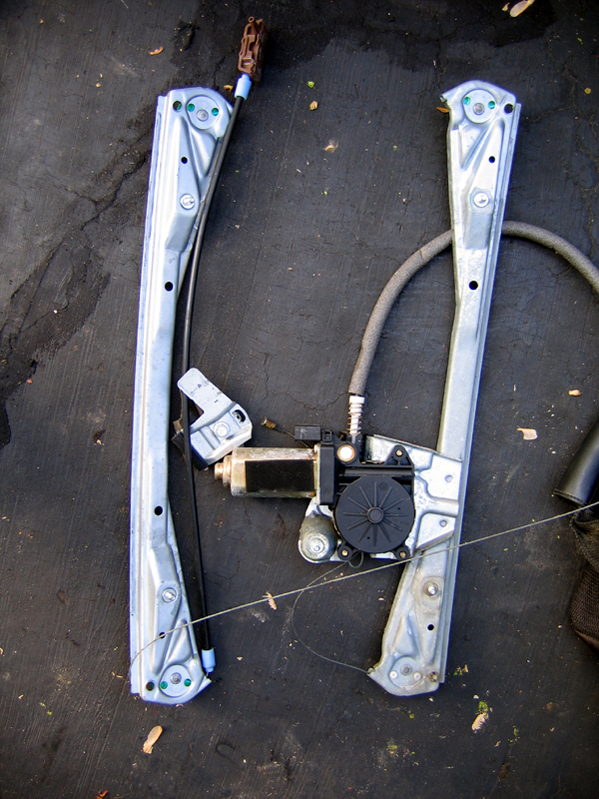
Jaguar 2000 S-Type Window RegulatorOld Regulator The first photo is the broken window regulator that was removed. Keep in mind that they come out of the door together.
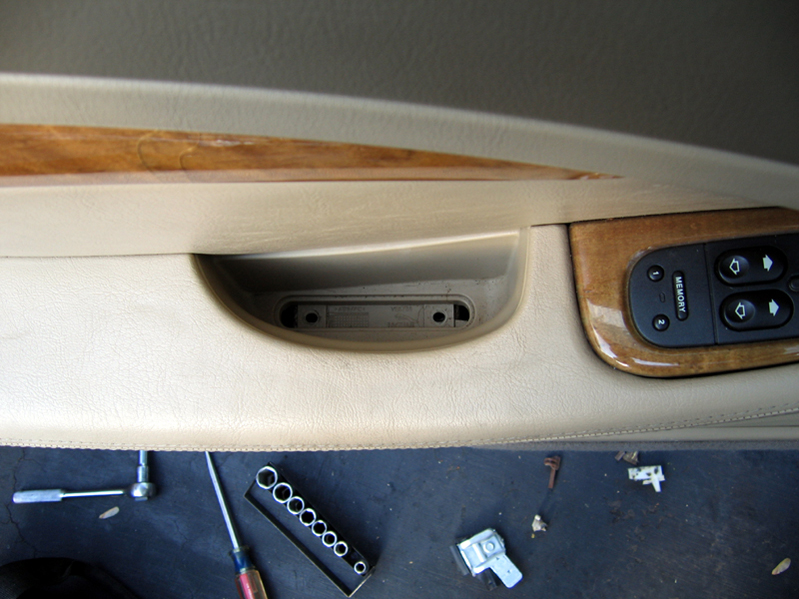
The first process is to remove the inside door panel. To do this remove the two screws located in the armrest (look down from the top). The panel is only held in place by these two screws and seven push pins mounted on the panel. You will need to remove the panel by carefully pulling it away from the door. I started from the top and evenly worked my way around the door until it was removed. You may run into resistance from the plastic shroud around the door latch. I left all the wires connected and set the door panel against the seat in the door jam. Door Panel
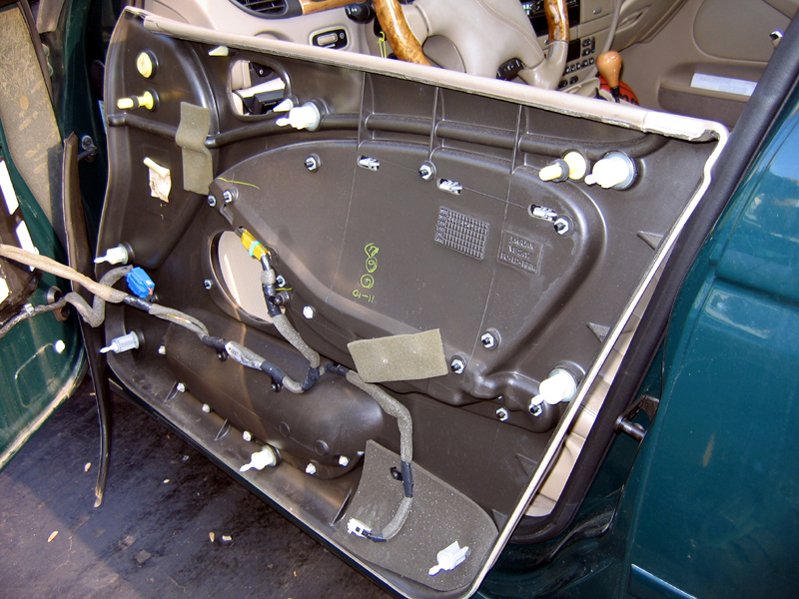
The Old Regulator in Door
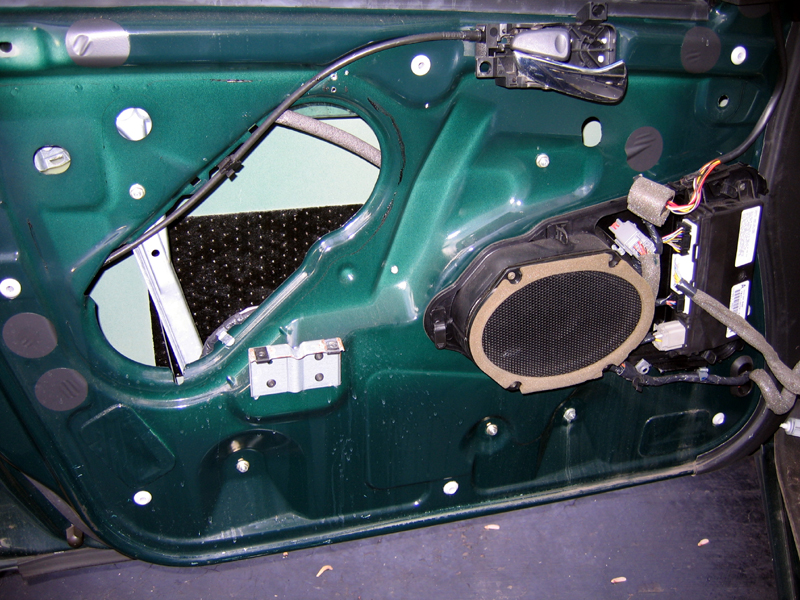
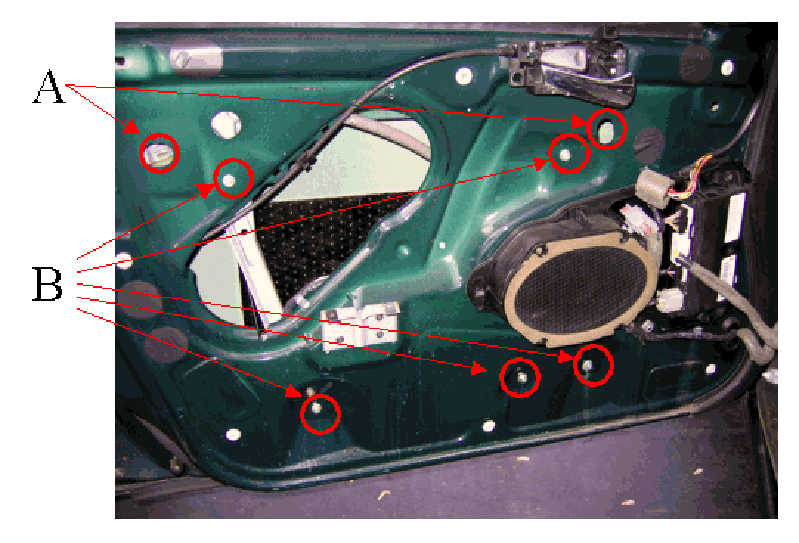
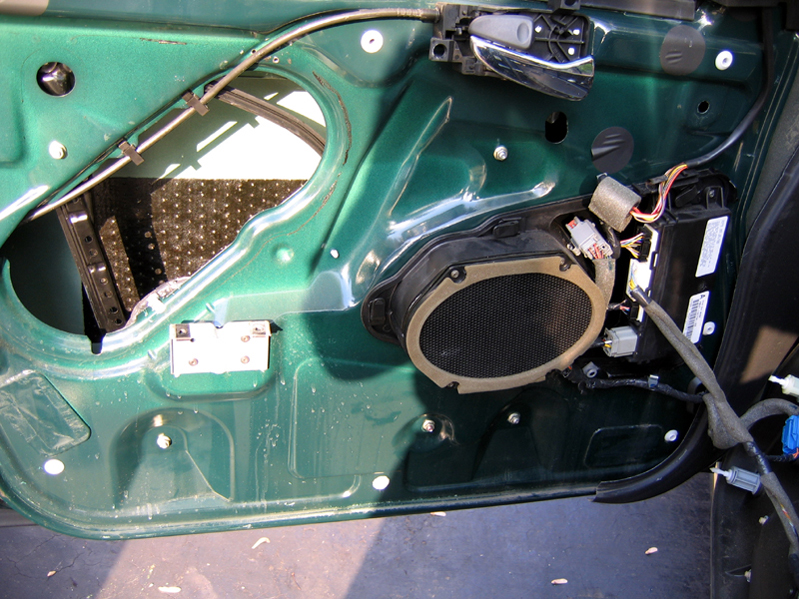
I marked the next photo with “A” & “B”. “A” are the bolts that need to be loosened so that your window can be pushed up and out of the way. When you free the window push it up and I used duck-tape on the outside of the window to hold it up and out of the way. “B” are the nuts that hold your regulator rails in place. Remove the nuts and push both rails in. When they are free direct them to the opening on the left and remove them. You may need to remove the speaker (a few snaps) and twist or rotate the regulator a little but they will come out freely. Bolt "A" & "B" Locations
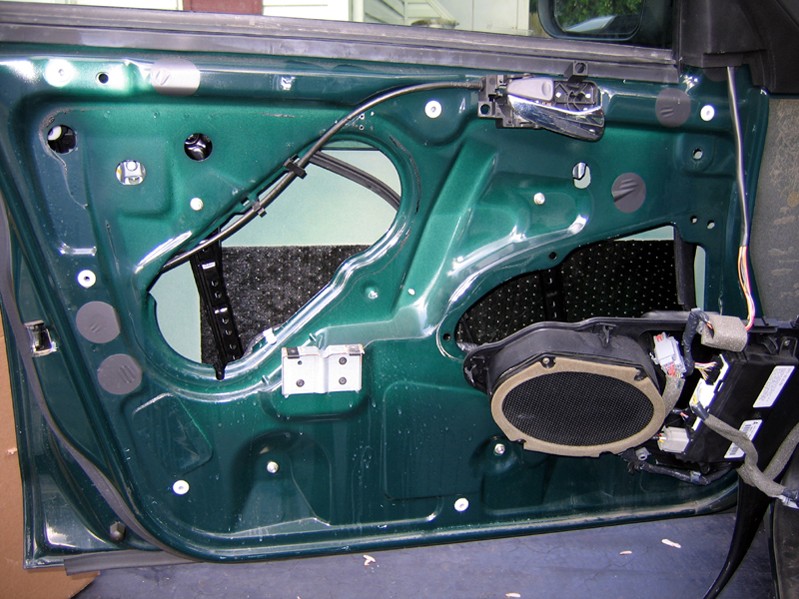
Regulator and Speaker Removed
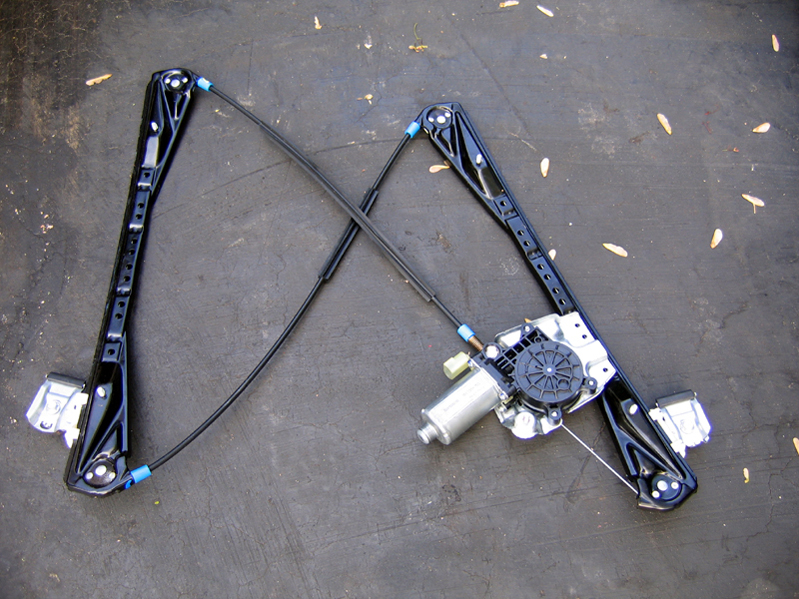
Once they are removed reverse the process and install the new regulators. I elected to replace this one with one that was made for a Lincoln LS regulator. It was cheaper and it fits or so I was told. Well they were correct, it fit with a little adjustment. The regulator with the motor has three bolts. One at the top and two at the motor. The two bolts attached at each end of the rail lineup the one at the motor was about 1/8 of an inch from lining up with the hole. Two options 1- to drill the hole lager and 2- to lineup the two bolts at the motor and gently pushing the top of the regulator 1/8 of an inch to the right to line up the bolt with the hole. I elected to use option 2. It did not change the characteristic of the regulator or any of the moving parts. Once installed turn on the key and run the window regulator to the half open position. Hold the window in place from the bottom and remove the tape. Direct the window down until it is set in the two clamps for the window gently and evenly. Turn the key on and close it electrically. In the closed position you will be able to tighten the two bolts “A” that hold and control the window up and down operation. Do not over tighten bolts “A” for the window. Now run the window up and down several times to ensure proper operation. The New Regulator
Check your work and reinstall the speaker and door panel. The panel may be a little tricky to install. Just lineup pins and make sure the door latch is lined-up prior to tapping the door panel in place with your hand. Install the two screws and you are done. My first regulator replacement was on the left rear door, the second was on the right front door and this one the left front drivers door and soon I am sure will be the right rear door. The first regulator took me about 30 min. I have gotten better and I think it took me about 15-20 min. Tools needed are a 10mm deep well socket with extension and ratchet, Phillips screwdriver, duck-tape, a putty knife to help with the panel removal and a little patience. The New Regulator Installed
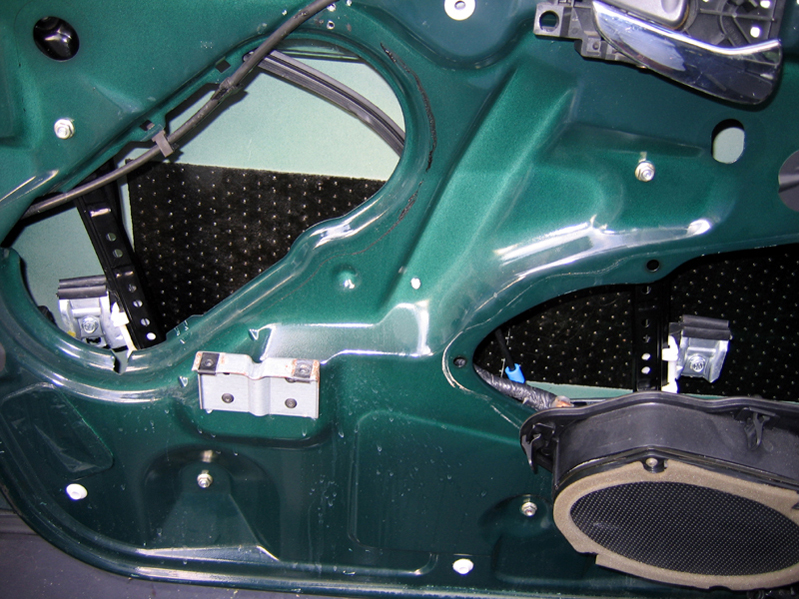
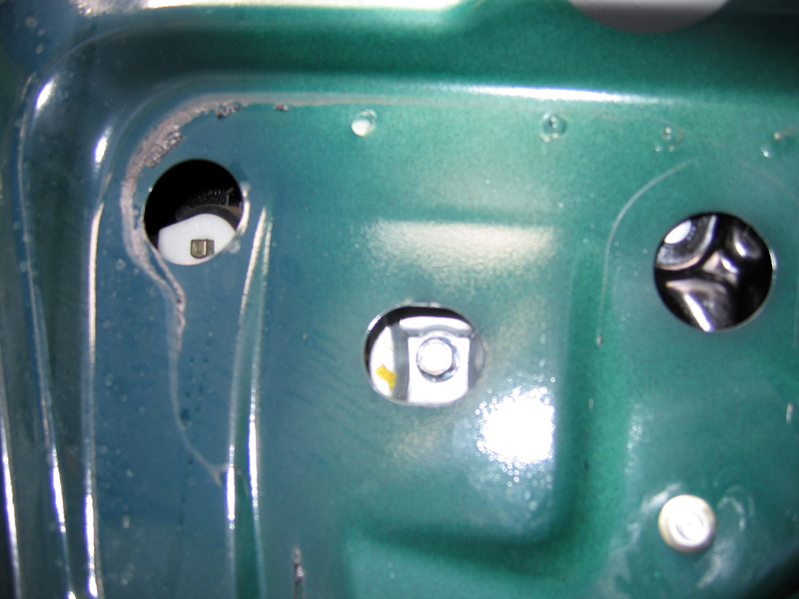
You have 2 Bolts that holds Window
|
|
|